


应用领域
APPLICATION
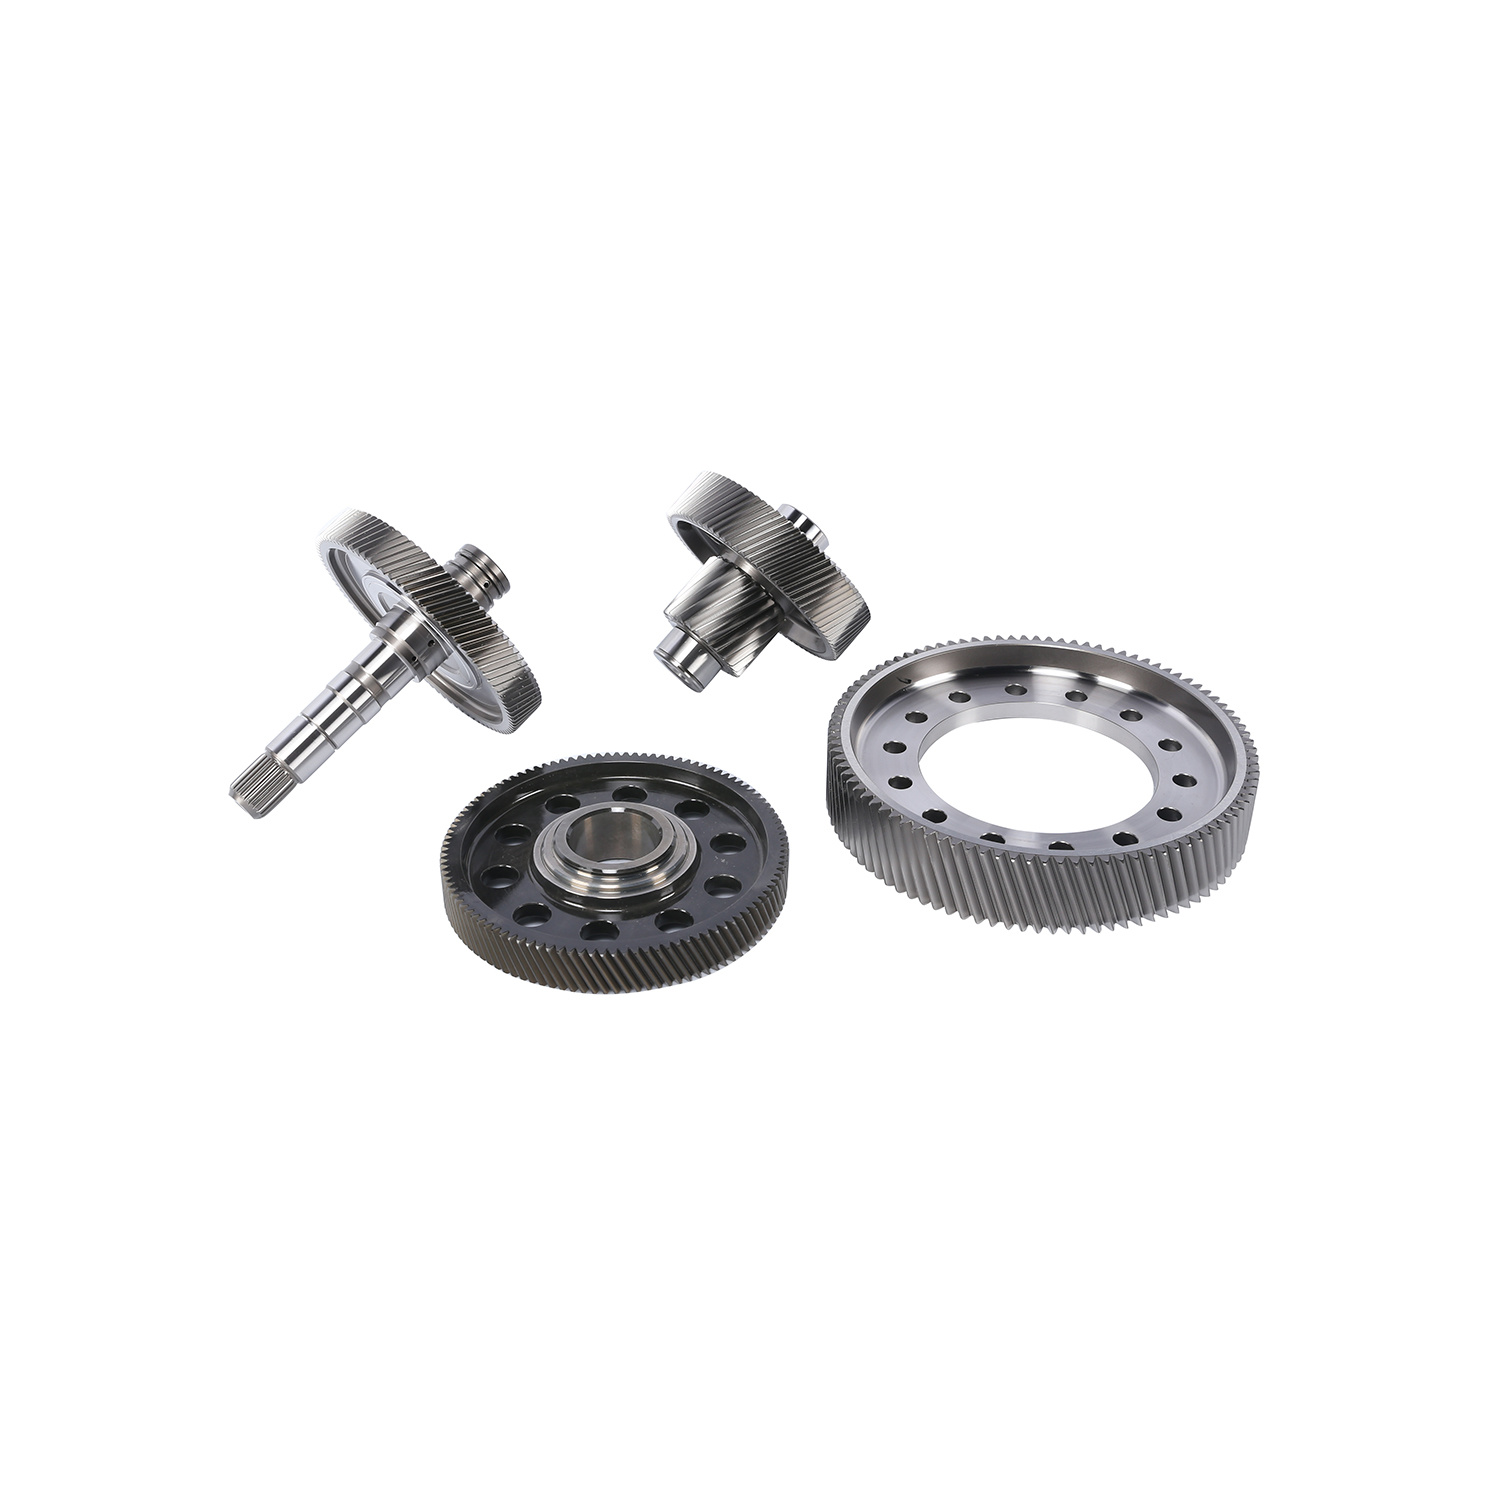
工程机械
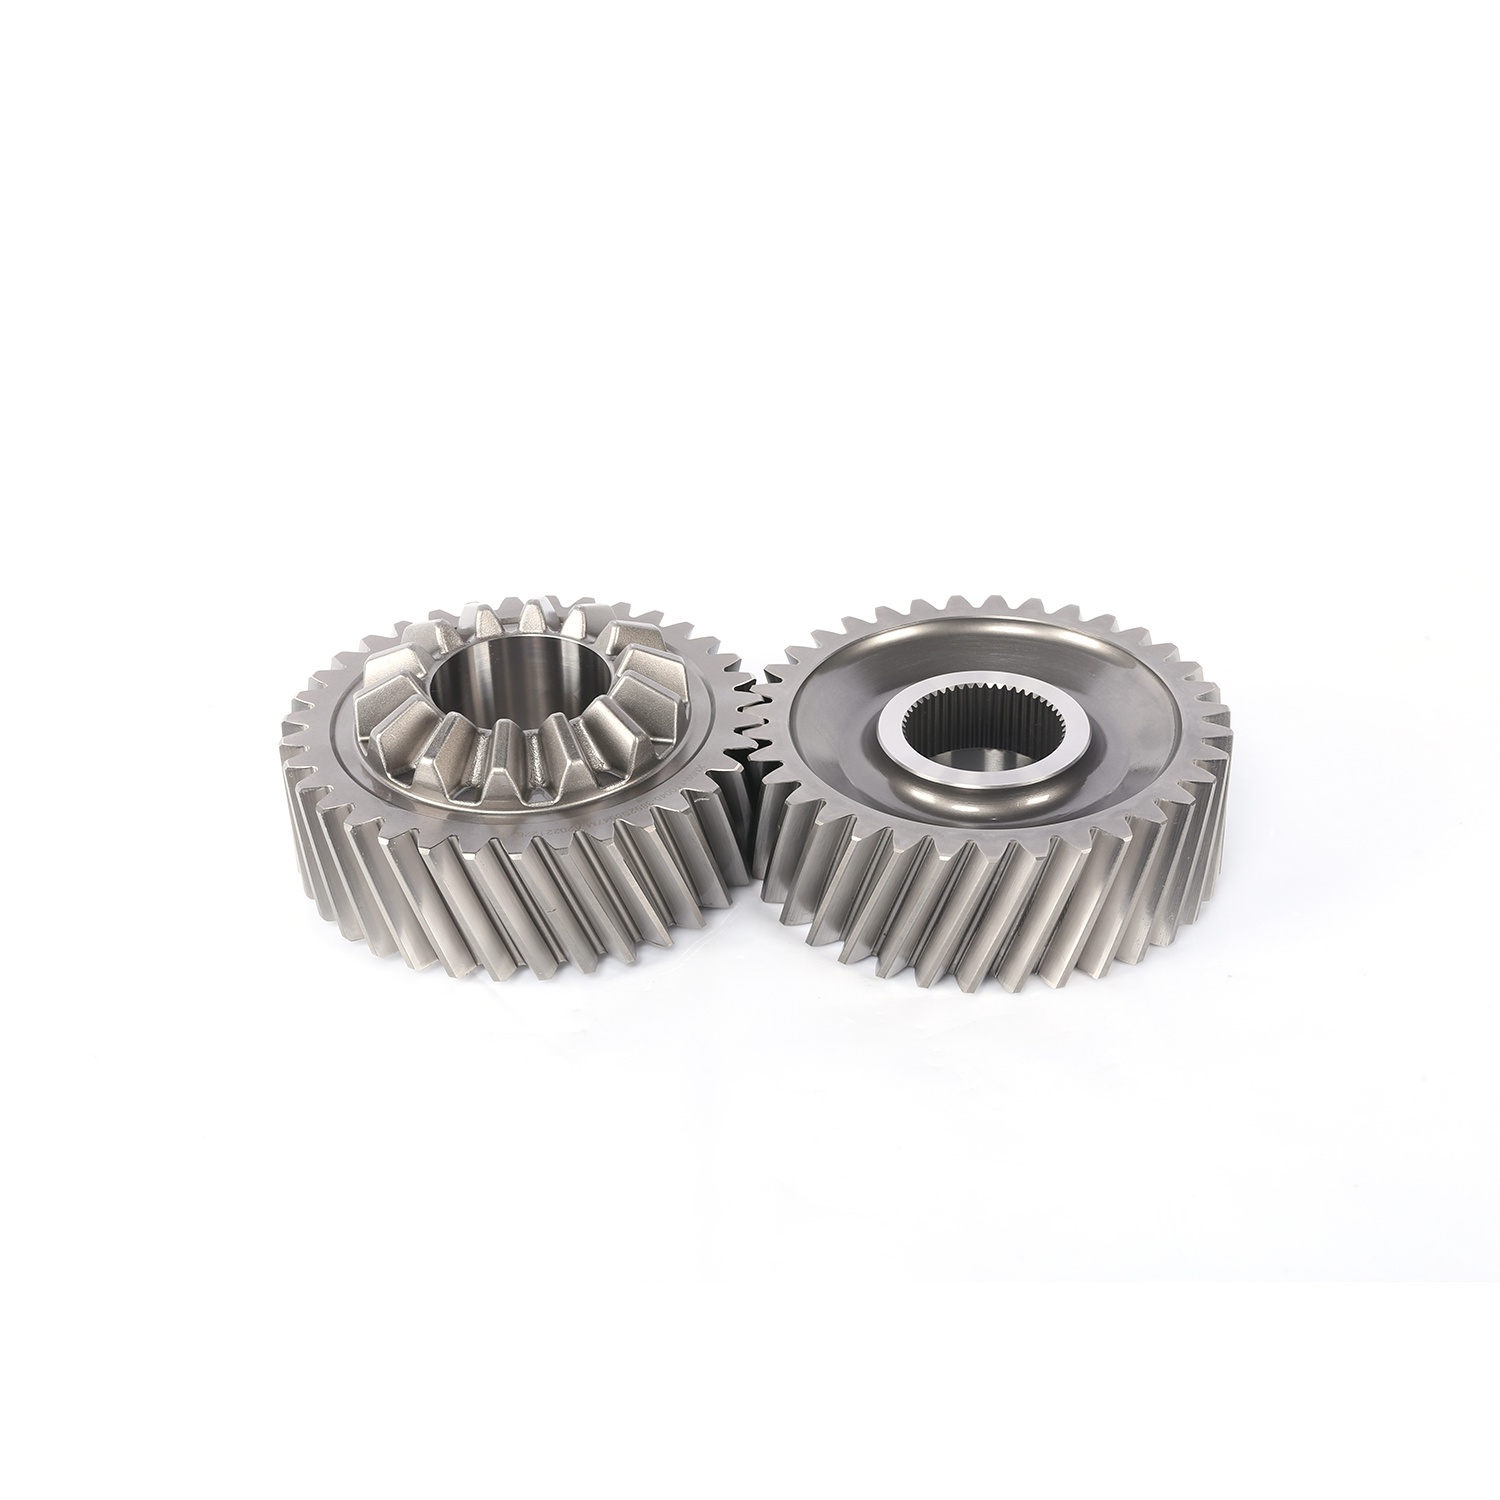
齿轮的形成机制使得其具有很高的精度和可靠性,这些特点使得其能够达到高传动效率的要求。同样,在机械设备的传递能量方面,齿轮也扮演者十分重要的角色。

应用领域
APPLICATION
农业机械
齿轮的形成机制使得其具有很高的精度和可靠性,这些特点使得其能够达到高传动效率的要求。同样,在机械设备的传递能量方面,齿轮也扮演者十分重要的角色。

应用领域
APPLICATION
汽车行业
齿轮的形成机制使得其具有很高的精度和可靠性,这些特点使得其能够达到高传动效率的要求。同样,在机械设备的传递能量方面,齿轮也扮演者十分重要的角色。

应用领域
APPLICATION
工业机器人
齿轮的形成机制使得其具有很高的精度和可靠性,这些特点使得其能够达到高传动效率的要求。同样,在机械设备的传递能量方面,齿轮也扮演者十分重要的角色。

工程机械
齿轮的形成机制使得其具有很高的精度和可靠性,这些特点使得其能够达到高传动效率的要求。同样,在机械设备的传递能量方面,齿轮也扮演者十分重要的角色。

农业机械
齿轮的形成机制使得其具有很高的精度和可靠性,这些特点使得其能够达到高传动效率的要求。同样,在机械设备的传递能量方面,齿轮也扮演者十分重要的角色。

汽车行业
齿轮的形成机制使得其具有很高的精度和可靠性,这些特点使得其能够达到高传动效率的要求。同样,在机械设备的传递能量方面,齿轮也扮演者十分重要的角色。

工业机器人
齿轮的形成机制使得其具有很高的精度和可靠性,这些特点使得其能够达到高传动效率的要求。同样,在机械设备的传递能量方面,齿轮也扮演者十分重要的角色。
关于尊龙凯时中国官网,ag尊龙凯时官方,尊龙凯时中国官网
ABOUT
公司简介
尊龙凯时中国官网,ag尊龙凯时官方,尊龙凯时中国官网齿轮公司位于21世纪第一道曙光升起之地温岭。尊龙凯时中国官网,ag尊龙凯时官方,尊龙凯时中国官网齿轮经过30年的专注创新,从单一的锻造发展成为集齿轮制造,精密加工,减速机制造,齿轮箱设计等产业于一体的综合性企业,技术水平和生产规模已跻身齿轮制造业的前列,为全球300家企业提供服务,主要市场涵盖20多个国家和地区,产品遍及工程机械,农业机械,海洋工程,能源科技等众多行业。

尊龙凯时中国官网,ag尊龙凯时官方,尊龙凯时中国官网齿轮成立
1992年
营业额
10亿元
授权专利/著作权
95/4项
参与制定的标准
4项
年产量
2000万件
合作伙伴
COOPERATIVE PARTNER